How to Optimize Images for Your Website in 2026 (Complete Guide)
Your website is slow. And there is a 90% chance the reason is your images.
I am not guessing — according to Google, images make up about 50% of the total weight of most web pages. Unoptimized images are the single biggest reason for slow loading times, poor Core Web Vitals scores, and lost rankings on Google.
The good news? Fixing this takes less than 5 minutes per image. In this guide, I will show you exactly how to optimize images for your website, what formats to use, and the free tools that make it ridiculously easy.
Why Image Optimization Matters for SEO
Google has made page speed a direct ranking factor. If your site takes more than 3 seconds to load, 53% of mobile visitors leave before they even see your content.
Here is what happens when you optimize your images:
- Faster page load — up to 2-3 seconds faster on mobile
- Better SEO rankings — Google rewards fast websites
- Lower bounce rate — visitors stay longer
- Less bandwidth usage — saves hosting costs
- Better user experience — especially on slow connections
Let us look at each step.
Step 1: Choose the Right Image Format
Not all image formats are created equal. Here is when to use each one:
| Format | Best For | File Size |
|---|---|---|
| JPEG | Photos, blog images, product shots | Small |
| PNG | Logos, screenshots, images with text or transparency | Medium-Large |
| WebP | Everything (25-34% smaller than JPEG) | Very Small |
| AVIF | Everything (50% smaller than JPEG) | Smallest |
| SVG | Icons, logos, simple graphics | Tiny |
My recommendation: Use WebP for everything on your website. It has 97% browser support in 2026 and gives you the best quality-to-size ratio.
Need to convert between formats? Here are some free tools that work instantly in your browser:
- PNG to JPG Converter — when you need smaller files
- JPG to PNG Converter — when you need transparency
- WebP to PNG Converter — when you need PNG compatibility
- SVG to PNG Converter — when you need rasterized icons
Step 2: Resize Images Before Uploading
This is the mistake I see most beginners make. They upload a 4000×3000 pixel photo straight from their phone when their website only displays it at 800 pixels wide.
That means the browser downloads a massive file and then shrinks it down — wasting bandwidth and slowing everything down.
Rule of thumb:
- Blog images: 1200px wide maximum
- Thumbnails: 400-600px wide
- Hero/banner images: 1600-1920px wide
- Product images: 800-1000px wide
You can resize images instantly with the Image Resizer — just upload, set your dimensions, and download. No software needed.
Step 3: Compress Your Images
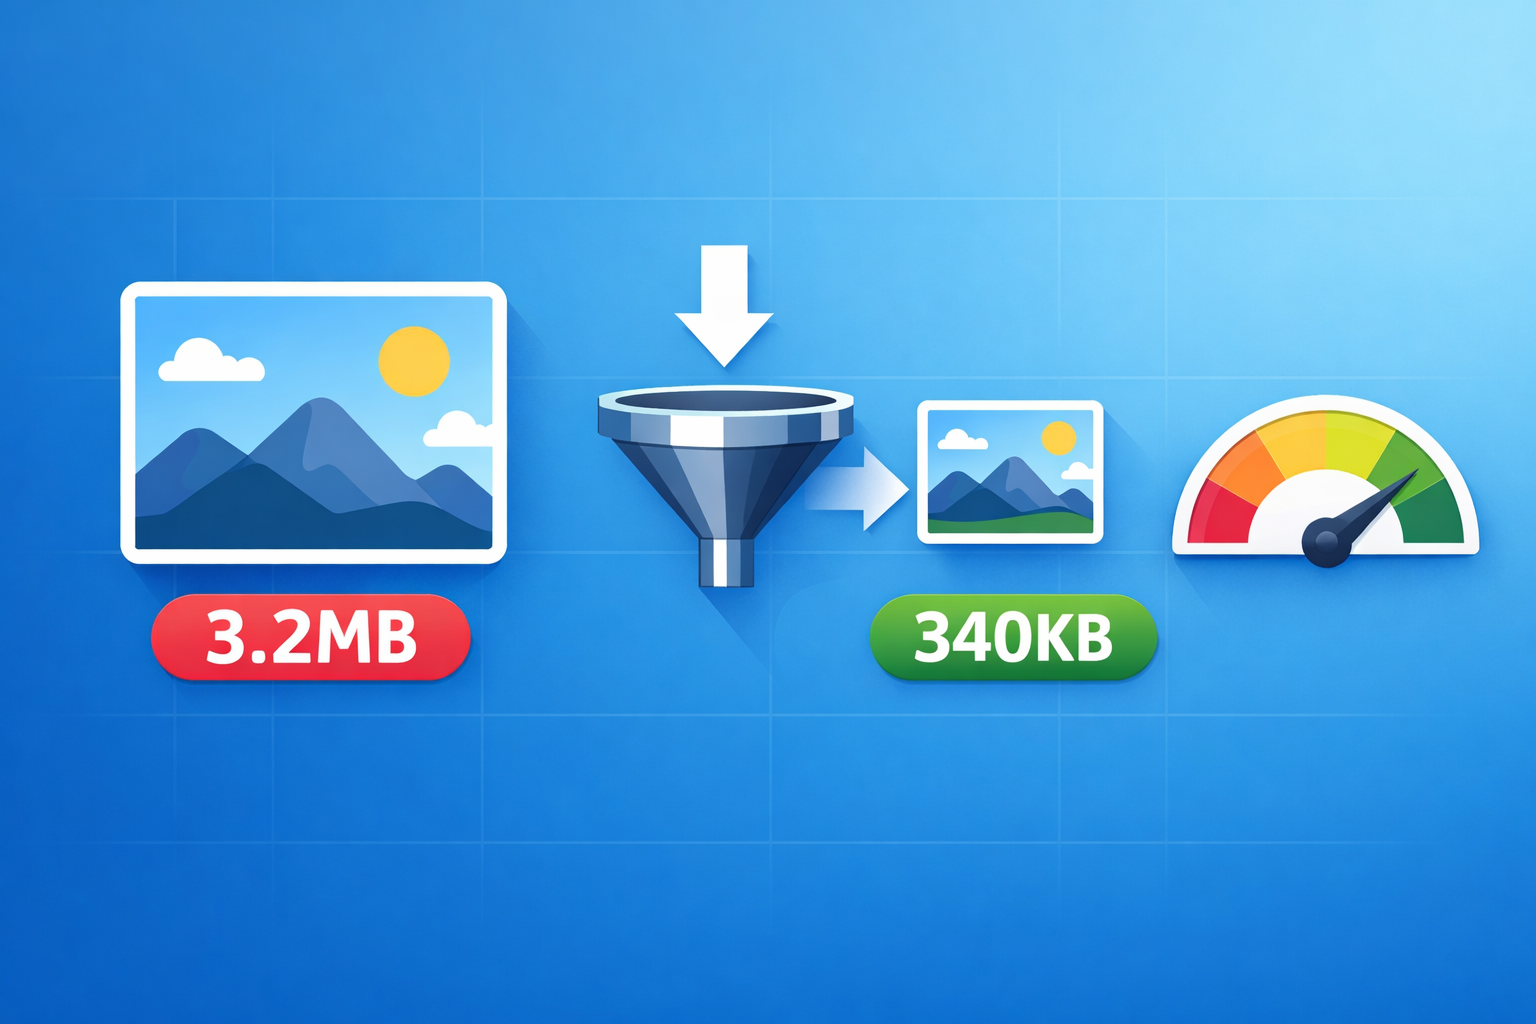
This is where the magic happens. Image compression can reduce your file size by 60-80% with barely any visible difference.
There are two types of compression:
- Lossy compression — removes some data permanently. Smaller files, slight quality loss (usually invisible to the naked eye)
- Lossless compression — reduces file size without any quality loss. Smaller reduction but perfect quality
For web use, lossy compression at 80-85% quality is the sweet spot. You get dramatically smaller files and nobody can tell the difference.
I use the Image Compressor on ToolsArena for this. What I like about it:
- Drag and drop multiple images at once
- Adjustable quality slider so you can find the perfect balance
- Everything processes in your browser (your images are never uploaded to any server)
- Works with JPG, PNG, and WebP
Real example: I compressed a 3.2MB blog header image down to 340KB at 82% quality. The visual difference? Zero. The page load improvement? Huge.
Step 4: Remove Unnecessary Metadata
Every photo from your phone contains EXIF data — GPS coordinates, camera settings, timestamps, and more. This metadata adds kilobytes to every image and can even be a privacy risk.
Most image compression tools strip this data automatically. But if you are uploading images that contain sensitive location data, make sure to remove it before publishing.
Step 5: Use Descriptive File Names and Alt Text
This is an SEO step that most people skip. Instead of uploading “IMG_20260310_142356.jpg”, rename it to something descriptive:
Bad: IMG_20260310.jpg Good: homemade-chocolate-cake-recipe.jpg
Also add proper alt text to every image. Alt text helps:
- Google understand what your image shows
- Screen readers describe images to visually impaired users
- Your images rank in Google Image Search
Pro tip: If you are struggling with writing good SEO meta data, use the Meta Tag Generator to create optimized title tags and descriptions for your pages.
Step 6: Implement Lazy Loading
Lazy loading means images below the fold (not visible on screen) are only loaded when the user scrolls down to them. This dramatically improves initial page load time.
In HTML, it is as simple as adding one attribute:
<img src="photo.webp" alt="Description" loading="lazy" width="800" height="600">
WordPress and most modern frameworks support lazy loading by default in 2026.
Step 7: Crop Images to the Right Aspect Ratio
Do not upload a landscape photo when you need a square thumbnail. Crop it first to avoid wasting pixels (and bandwidth).
The Image Cropper lets you crop to custom dimensions or preset ratios like 1:1 (Instagram), 16:9 (YouTube), or 4:3 (blog featured images).
Bonus: Remove Backgrounds for Clean Product Images
If you run an e-commerce store or portfolio, clean product images with white or transparent backgrounds look far more professional.
The Background Remover uses AI to automatically remove image backgrounds — completely free, no signup, and surprisingly accurate.
Quick Checklist Before You Upload Any Image
Here is my personal checklist that I follow for every image:
- Resized to the correct dimensions (not larger than needed)
- Compressed to under 200KB (under 100KB for thumbnails)
- Saved in WebP or JPEG format
- File named descriptively with hyphens
- Alt text added
- Lazy loading enabled for below-the-fold images
The Tools I Use (All Free)
Instead of installing Photoshop or paying for online tools, here is my complete free toolkit on ToolsArena:
| Task | Tool |
|---|---|
| Compress images | Image Compressor |
| Resize images | Image Resizer |
| Crop images | Image Cropper |
| Convert formats | PNG to JPG, WebP to PNG |
| Remove backgrounds | Background Remover |
| Add watermarks | Image Watermark |
| Convert to PDF | Image to PDF |
The best part? Every tool runs in your browser. No signup, no file uploads to external servers, no limits. Your images stay on your device.
Final Thoughts
Image optimization is not optional in 2026 — it is one of the easiest SEO wins you can get. A few minutes spent compressing and resizing your images can improve your page speed by 2-3 seconds, boost your Google rankings, and keep visitors on your site longer.
Start with your heaviest pages first. Check your page speed at Google PageSpeed Insights, identify the largest images, and optimize them using the free tools I mentioned above.
Your website visitors (and Google) will notice the difference.
Have questions about image optimization? Drop a comment below and I will help you out!